For all the others I prepared Snow pixie tutorial:
 |
You'll need: piece of clay or air hardening clay like Das clay lace needle or toothpick cutter brush roller underglaze color or watercolor (for Das clay) glaze or varnish (for Das Clay) |
 |
| Roll piece of clay. |
 |
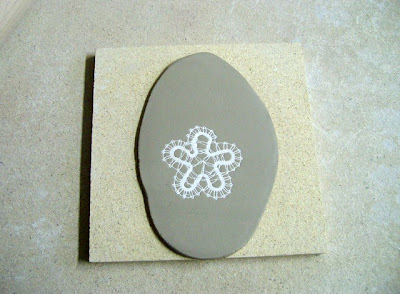
| Impress the lace into the clay. |
 |
| Draw a pixie with needle or toothpick. |
 |
| Cut off the redundant clay. |
 |
| Shape a face, tuft, hands and border for hood. |
 |
Wet the area where you'll put items and stick them on pixie. Imprint a pattern on hood. |
 |
If you use Das clay, soften edges before it will dry. If you use clay, let it dry first, than soften edges with damp sponge. Bisque fire or air dry the pixie (Das clay) |
 |
| Color it with underglaze colors or watercolors (Das clay) |
 |
| Glaze it and fire it. Use varnish for Das clay. |
 |
| Glue a magnet to it. |
 |
| Hello! I'm here! |

so beautiful!!
ReplyDeleteBrilliant! Great tutorial - lovely result :) Thanks! Happy Christmas.
ReplyDeleteHe's so sweet..... thank you for the tutorial.....
ReplyDeleteMaybe next time on the giveaway..... but I am happy for Anja!!
PS: I forgot to tell you how very talented and creative I think you are!!
ReplyDeleteHave a wonderful Christmas.
Super cute!
ReplyDeleteThis is wonderful Tika! Have a lovely Christmas! xm
ReplyDeleteThis is nice, love to see how it's made.
ReplyDelete